Custom columns can be setup in Summary for use with EZ-Pricer and NetPricer.
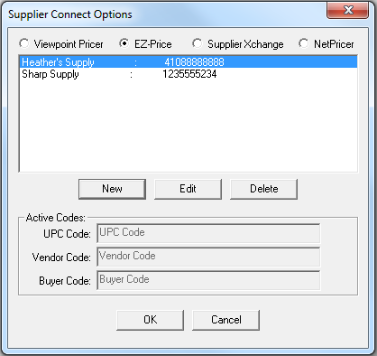
To setup EZ-Pricer/NetPricer columns, first go to Summary and choose File > Preferences. When the Preferences window appears, go to the Miscellaneous Options section, select Supplier Connect. The Supplier Connect Options window displays. Make sure that either the EZ-Price or NetPricer option is selected at the top of the window.
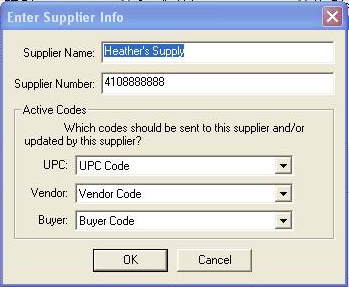
To add a supplier, click New and enter the Supplier Name and Number. When finished, the Supplier information appears in the window.
If you click Edit to edit the highlighted supplier, the Active Codes section becomes available. Here, you can select which codes to send/receive in the UPC, Vendor and Buyer fields.
Repeat the process for all desired Suppliers and click OK when finished.
In a Summary report, right-click on a Header and choose the Customize Columns option. In the Customize window that opens, under the Bands tab, a column band titled "Custom Columns" displays.

To add the column band to the Summary report, drag the name to the desired location in the report.
Next, add columns for your vendors. Right-click on a Header within the Custom Columns Band and choosing the Add Custom Column > Material Unit Column option. The program prompts you to name your new column. Then, the new column (and one for its Ext value) will be added to the Summary Report. If you have previously configured your vendor columns they can be added to the Summary Report by dragging them from under the Custom tab in the Customize window onto your Summary report. These columns will appear for any new job created after the vendors were configured.
To create an EZ-Pricer/NetPricer quote, first select which items you wish to price and then right-click a highlighted Item(s) (while in the Custom Column) and choose the EZ-Price option.
What happens next depends on the service you are using:
NetPricer
The first time you use NetPricer, you will be prompted
to enter in your User Name and
Password.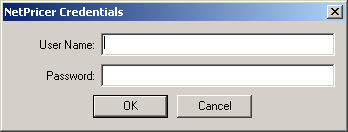
After you enter in your credentials, the columns will be populated with the pricing data retrieved from NetPricer.
EZ-Pricer
With EZ-Price, the Column is highlighted in red until it is populated with a quote.
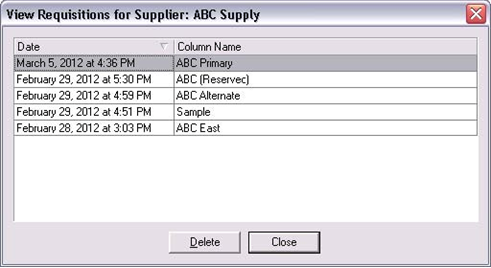
View Requisitions: You can view requisitions for item pricing by highlighting the item on the Summary screen, right-click and select View Requisitions. A dialog opens displaying a list of available requisitions, as shown below. Double click on a file to view it.
After creating your quote, open the Power Connect application
using the ![]() icon on the Summary tool bar.
icon on the Summary tool bar.
![]()
By default, Power Connect automatically sends quotes
and checks for replies every 30 seconds. To manually send a quote, select
![]() on the Power Connect window.
on the Power Connect window.
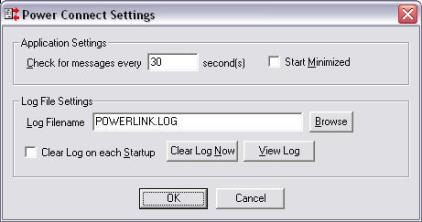
You can adjust how often Power Connect sends quotes
and checks for replies from vendors. To do so, click ![]() to open the Power Connect Settings window.
to open the Power Connect Settings window.
When finished, close Power Connect. The selected Items will be populated with pricing information after they are sent by the vendor.
When using the EZ-Pricer service, you will be alerted by email when EZ-Pricer information is ready for download. You will need to launch Power Connect to retrieve your pricing after you have received your EZ-Pricer alert.
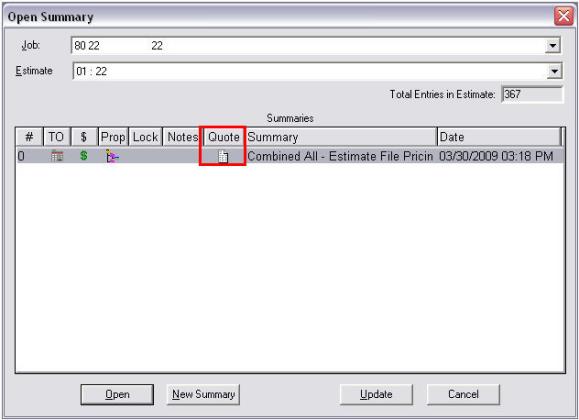
Summary informs you when quoted prices are ready to be imported into your Summary Report. In the Open Summary window, an icon displays under the Quote column by Summaries that have had their quote information received.
Finally, you must transfer the new pricing values to an Item's Material Unit field. To do this, highlight the Items in which you have just brought in pricing values, right-click on the Header of your custom column, and choose the Move to Material Unit option.
You can "cherry-pick” the lowest price for material or labor items when you are using EZPricer or NetPricer from multiple vendors. Click on a header in the summary, then select Cherry-Pick Lowest Material Unit (or Labor). The program goes through all the selected rows and moves the lowest price from the custom column(s) to populate the Material Unit column and updates the Pricing Source column as well.
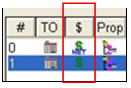
If the net price flag is on, when you import the prices into Summary, items will display an "N:" in the Material extension. you will also see the Net icon in the $ column in the Open Summary window to quickly show you if the summary contains net priced items.
© 2019 Trimble, Inc. All Rights Reserved. See more at www.trimble.com.Trimble Privacy Notice