To add a company location to the Company Locations page, select Add. The Add Company Location window displays.
Note:All of these fields do not have to contain data, including the logo field. At the very least, the Company Name field must be completed.
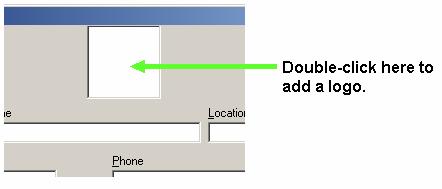
Your company logo can be inserted in the top field. Simply double-click that field with the primary mouse button to access a window that allows you to browse the directories on your hard drive to find your logo file).
Figure 1
Figure 2
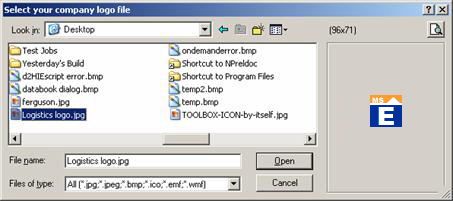
As Figure 3 shows, once you select a graphics file
in this dialog, a preview image of it displays on the right. When you
find the file you want to use, select ![]() .
The Add Company Location window returns, showing the image you selected.
.
The Add Company Location window returns, showing the image you selected.
Figure 3

Note: The “Default Location” checkbox is only active for a location that is not the default location. This allows you to choose another location as the default.
Continue completing the information in this dialog: enter your company name, address, and communication information for the selected location.
![]() accesses e-mail software and allow you to send an e-mail message to the
shown e-mail address.
accesses e-mail software and allow you to send an e-mail message to the
shown e-mail address.
![]() launches your Internet browser and goes to the shown web site.
launches your Internet browser and goes to the shown web site.
Note: You can also click on the web address in the Company Locations grid to launch the browser and go to the site.
![]() Closes
the Add Company Location window. The program returns to the Company Locations
page, showing the new company location.
Closes
the Add Company Location window. The program returns to the Company Locations
page, showing the new company location.
![]() Cancels
the Add process, closing the Add Company Location dialog without saving
any of the information you may have entered.
Cancels
the Add process, closing the Add Company Location dialog without saving
any of the information you may have entered.